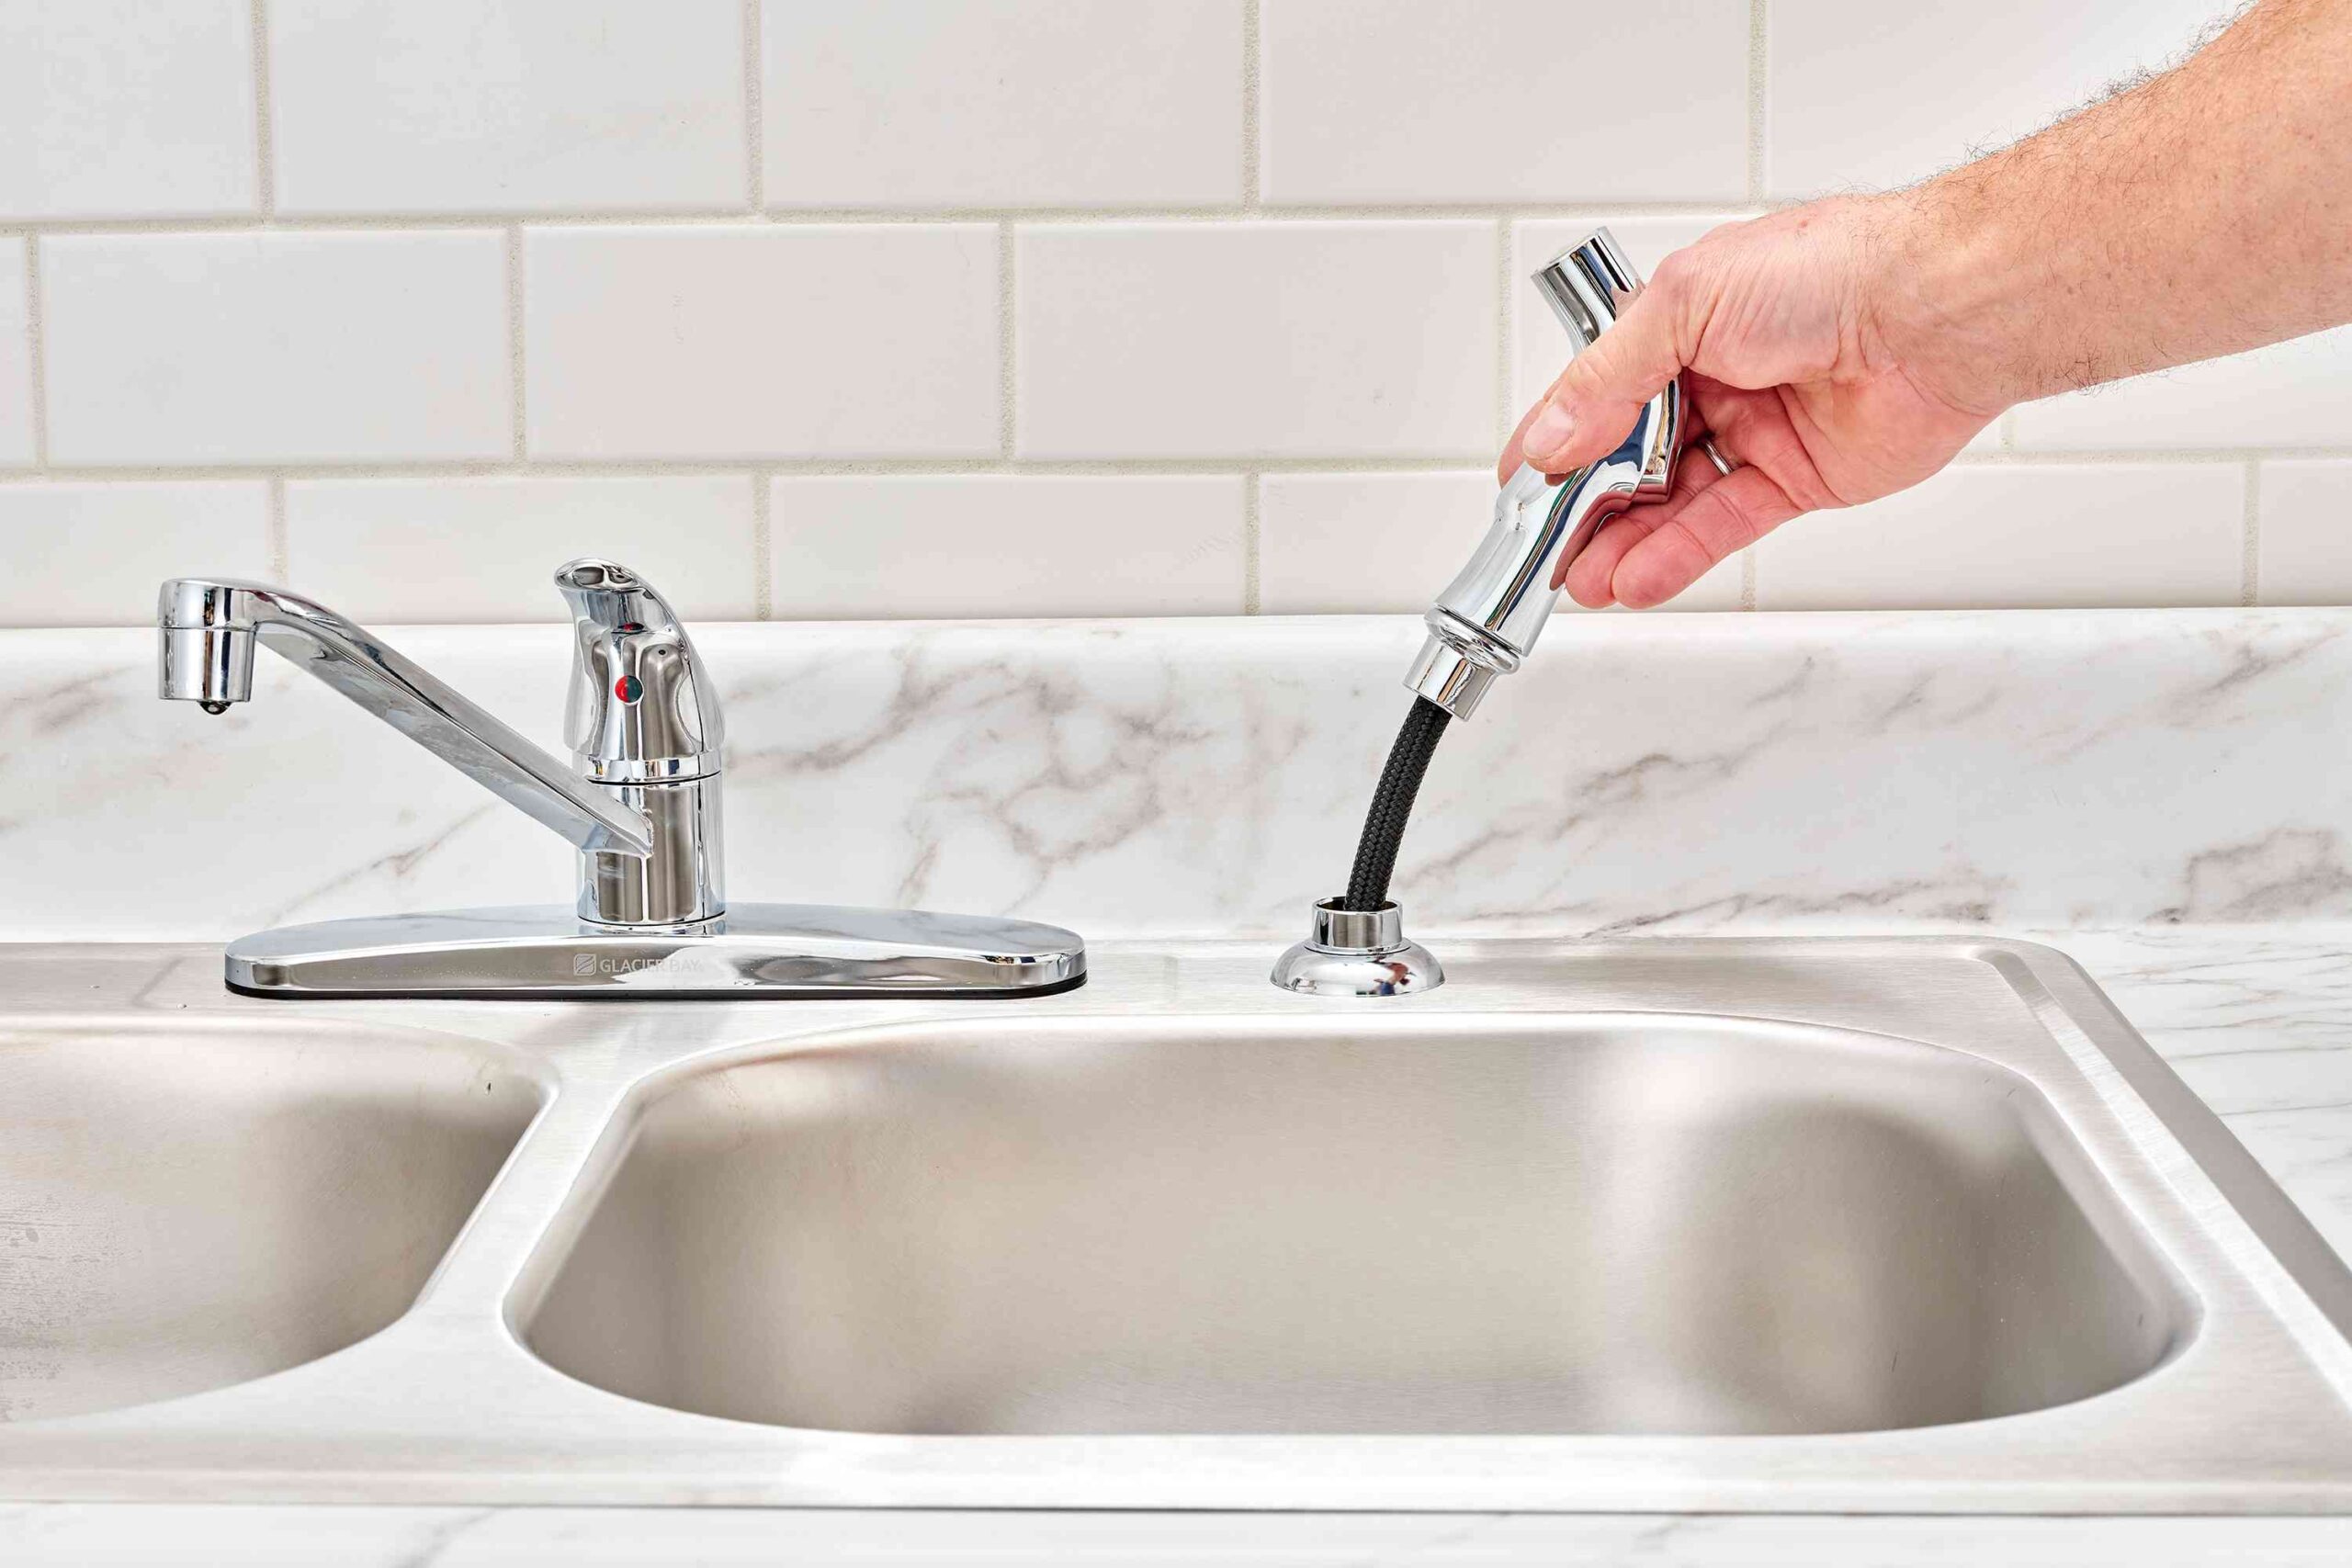
A functional kitchen faucet with a sprayer is an essential component of any modern kitchen, facilitating various tasks such as washing dishes, filling pots, and cleaning the sink area. Over time, faucets may wear out or become outdated, necessitating replacement to maintain optimal functionality and aesthetics. In this comprehensive guide, we will walk you through the process of replacing a kitchen faucet with a sprayer, covering key considerations, necessary tools and materials, and step-by-step instructions for a successful installation.
Introduction
A well-functioning kitchen faucet with a sprayer is indispensable in any household, providing convenience and efficiency for daily kitchen tasks. Whether you’re upgrading to a newer model or addressing a worn-out faucet, replacing a kitchen faucet with a sprayer can enhance the functionality and appearance of your kitchen space. In this guide, we’ll outline the necessary steps and considerations for a successful faucet replacement, ensuring a seamless transition to your new fixture.
Gathering Necessary Tools and Materials
Before embarking on the faucet replacement process, it’s essential to gather the necessary tools and materials to facilitate a smooth installation. Here’s a list of tools and materials you’ll need:
Tools required for the replacement process
- Wrenches and pliers: For loosening connections and fasteners.
- Screwdrivers: To remove screws and fasteners securing the old faucet.
- Adjustable wrench: For tightening connections and ensuring a snug fit.
Materials needed for the replacement
- New kitchen faucet with sprayer: Ensure it’s compatible with your sink and countertop.
- Teflon tape: For sealing threaded connections and preventing leaks.
- Plumbers putty: To create a watertight seal around the faucet base and sprayer.
Removing the Old Faucet
Before installing the new faucet, you’ll need to remove the existing one. Here’s how to do it:
Shutting off the water supply
Locate the shut-off valves under the sink and turn off the hot and cold water supply. It’s essential to drain any remaining water from the lines to prevent leaks during the removal process.
Disconnecting the existing faucet
Using wrenches and pliers, loosen the connections to the hot and cold water lines. Next, remove the mounting nuts securing the faucet in place and detach the sprayer hose and any additional connections. Be careful not to damage the sink or countertop during this process.
Installing the New Faucet with Sprayer
Now that you’ve removed the old faucet, it’s time to install the new one. Here’s a step-by-step guide:
Preparing the sink and countertop
Clean the area around the faucet mounting holes and apply plumbers putty or silicone sealant to the base of the new faucet. Insert the faucet into the mounting holes and secure it in place using the provided hardware.
Connecting the water supply lines
Attach the hot and cold water supply lines to the corresponding connections on the new faucet. Ensure a snug fit and use Teflon tape to seal threaded connections. Use an adjustable wrench to tighten the connections and prevent leaks.
Installing the sprayer
Attach the sprayer hose to the faucet body and secure the sprayer holder to the sink or countertop. Test the sprayer for proper function and adjust it as needed to ensure smooth operation.
Testing and Finalizing the Replacement
Before completing the replacement process, it’s essential to test the new faucet and sprayer to ensure everything is working correctly. Here’s what to do:
Turning on the water supply
Gradually open the shut-off valves to restore water flow and check for leaks around the faucet and connections. Address any leaks or issues promptly to ensure a watertight seal and prevent water damage.
Testing the functionality of the new faucet and sprayer
Turn on the faucet and sprayer to check for proper water flow and pressure. Adjust the temperature and flow settings as needed to achieve the desired comfort and functionality. Confirm that all components are working correctly before completing the replacement process.
In conclusion, replacing a kitchen faucet with a sprayer is a manageable DIY project that can enhance the functionality and aesthetics of your kitchen space. By following the outlined steps and considerations, you can successfully install a new faucet and sprayer, ensuring smooth operation and reliable performance for years to come. Whether you’re upgrading to a modern fixture or addressing a worn-out faucet, a new kitchen faucet with a sprayer can elevate your kitchen experience and streamline daily tasks with ease.


