Introduction to Installing a Shower Base on a Wooden Floor
Proper installation of a shower base on a wooden floor is crucial for ensuring a durable and leak-free shower enclosure. In this guide, we’ll explore the essential steps and considerations for installing a shower base on a wooden floor, from choosing the right base to finishing touches and maintenance tips.
I. Importance of Proper Installation Techniques
A. Importance of Proper Installation Techniques
Proper installation techniques are essential for ensuring the longevity and performance of a shower base. Improper installation can lead to leaks, water damage, and structural issues, compromising the integrity of the shower enclosure and surrounding areas.
B. Overview of Shower Base Types
There are several types of shower bases available, including acrylic, fiberglass, tile-ready, and solid surface bases. Each type offers unique advantages and considerations in terms of durability, aesthetics, and installation requirements.
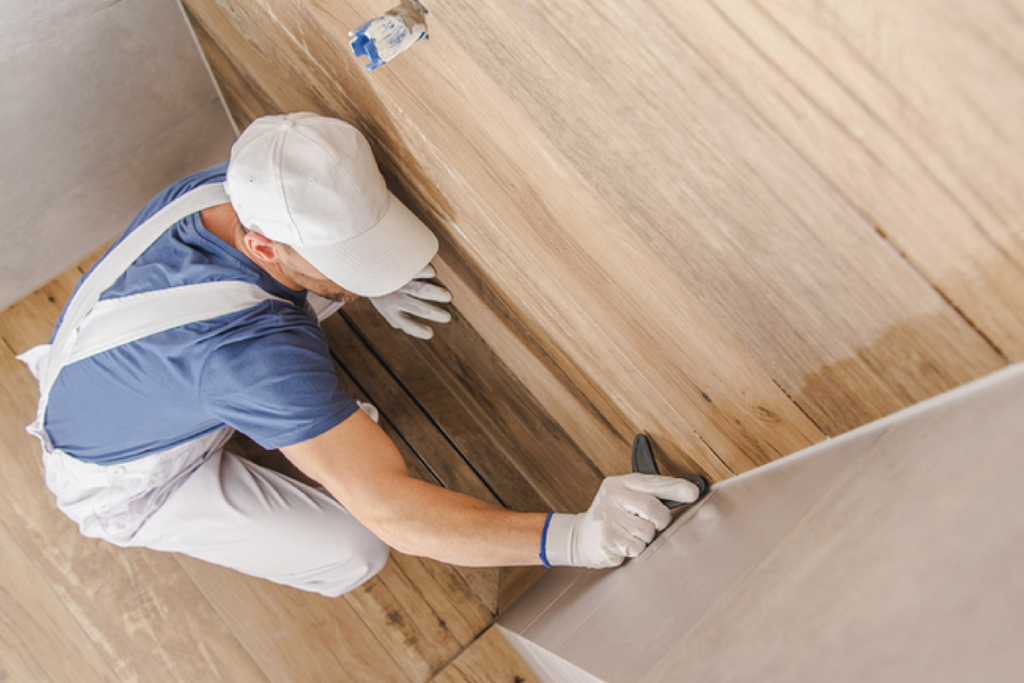
C. Preparing the Wooden Floor for Installation
Before installing a shower base on a wooden floor, proper preparation is necessary to ensure a stable and waterproof foundation. This includes assessing the condition of the wooden floor, addressing any structural issues, and implementing reinforcement and waterproofing measures as needed.
II. Choosing the Right Shower Base
A. Exploring Different Types of Shower Bases
When choosing a shower base, it’s essential to consider factors such as size, configuration, and material. Acrylic and fiberglass bases are lightweight and easy to install, while tile-ready and solid surface bases offer greater customization options and durability.
B. Considering Size and Configuration
The size and configuration of the shower base should be compatible with the dimensions and layout of the bathroom. Standard sizes are available, but custom options may be necessary for unique or irregular spaces.
C. Evaluating Material Options and Durability
Different materials offer varying levels of durability and performance. Acrylic and fiberglass bases are budget-friendly options suitable for most applications, while tile-ready and solid surface bases offer greater durability and resistance to wear and tear.
III. Preparing the Wooden Floor for Installation
A. Assessing Floor Condition and Structural Integrity
Before installing the shower base, it’s crucial to assess the condition of the wooden floor and ensure its structural integrity. Any signs of water damage, rot, or instability should be addressed before proceeding with installation.
B. Ensuring Proper Slope and Drainage
Proper slope and drainage are essential for preventing water pooling and ensuring efficient drainage. The wooden floor should be sloped towards the drain, and a waterproof membrane or liner should be installed to protect the underlying structure from moisture damage.
C. Installing Reinforcement and Waterproofing Measures
To reinforce the wooden floor and provide additional waterproofing, a layer of cement backer board or marine-grade plywood can be installed over the existing subfloor. This provides a stable and waterproof surface for the shower base to be installed on.
IV. Step-by-Step Guide to Installing the Shower Base
A. Marking and Positioning the Base
Begin by marking the position of the shower base on the wooden floor, taking into account the location of the drain and any surrounding walls or fixtures. Ensure that the base is centered and aligned properly before proceeding.
B. Securing the Base to the Wooden Floor
Once the base is positioned correctly, secure it to the wooden floor using screws or adhesive as recommended by the manufacturer. Ensure that the base is level and stable, making any necessary adjustments as needed.
C. Testing for Stability and Leak Prevention
After the base is installed, test for stability and leak prevention by filling the shower pan with water and checking for any signs of leakage or instability. This will help identify any issues that need to be addressed before proceeding with further installation.
V. Finishing Touches and Maintenance Tips
A. Sealing and Caulking the Edges
To prevent water infiltration and ensure a watertight seal, seal and caulk the edges of the shower base where it meets the walls and floor. Use a waterproof sealant compatible with the base material and allow it to cure fully before using the shower.
B. Installing Surrounding Walls and Enclosures
Once the shower base is installed and sealed, install surrounding walls and enclosures to complete the shower enclosure. Ensure that all components are properly sealed and aligned to prevent water leakage and ensure a cohesive aesthetic.
C. Maintaining and Cleaning the Shower Base Regularly
To maintain the shower base and ensure its longevity, clean it regularly with mild soap and water and avoid using abrasive cleaners or scrubbers that may damage the surface. Inspect the sealant and caulk periodically and reapply as needed to prevent water infiltration and maintain a watertight seal.
In conclusion, installing a shower base on a wooden floor requires careful planning, preparation, and execution to ensure a durable and leak-free shower enclosure. By following the steps outlined in this guide and choosing the right shower base for your needs, you can create a functional and aesthetically pleasing shower space that enhances the overall look and feel of your bathroom.